This post will help you to install iDempiere development environment.
I have tested this installation for
- iDempiere 3.1 using this with java 7 update 80 and Eclipse version Luna Service Release 2 (4.4.2)
- iDempiere 4.1 using java 8 update 112 and Eclipse Version: Neon.2 Release (4.6.2) on my MacBook.
Following are the instruction needs to be followed step by step. If java and Postgres is already installed then skip first two steps.
Install JDK
- For iDempiere 3.1 it required java 7. You can download from following link http://www.oracle.com/technetwork/java/javase/downloads/java-archive-downloads-javase7-521261.html#jdk-7u80-oth-JPR
- For iDempiere 4.1 java 8 is fine. You can use following link to download http://www.oracle.com/technetwork/java/javase/downloads/jdk8-downloads-2133151.html
Database
Install PostgreSQL
Mercurial
For managing versions and source code control we need to install Mercurial . It is an open source application. Find the more info & simple useful tutorial. To download the mercurial use following link. It provides a graphical installer.
Clone iDempiere
Download iDempiere source tree
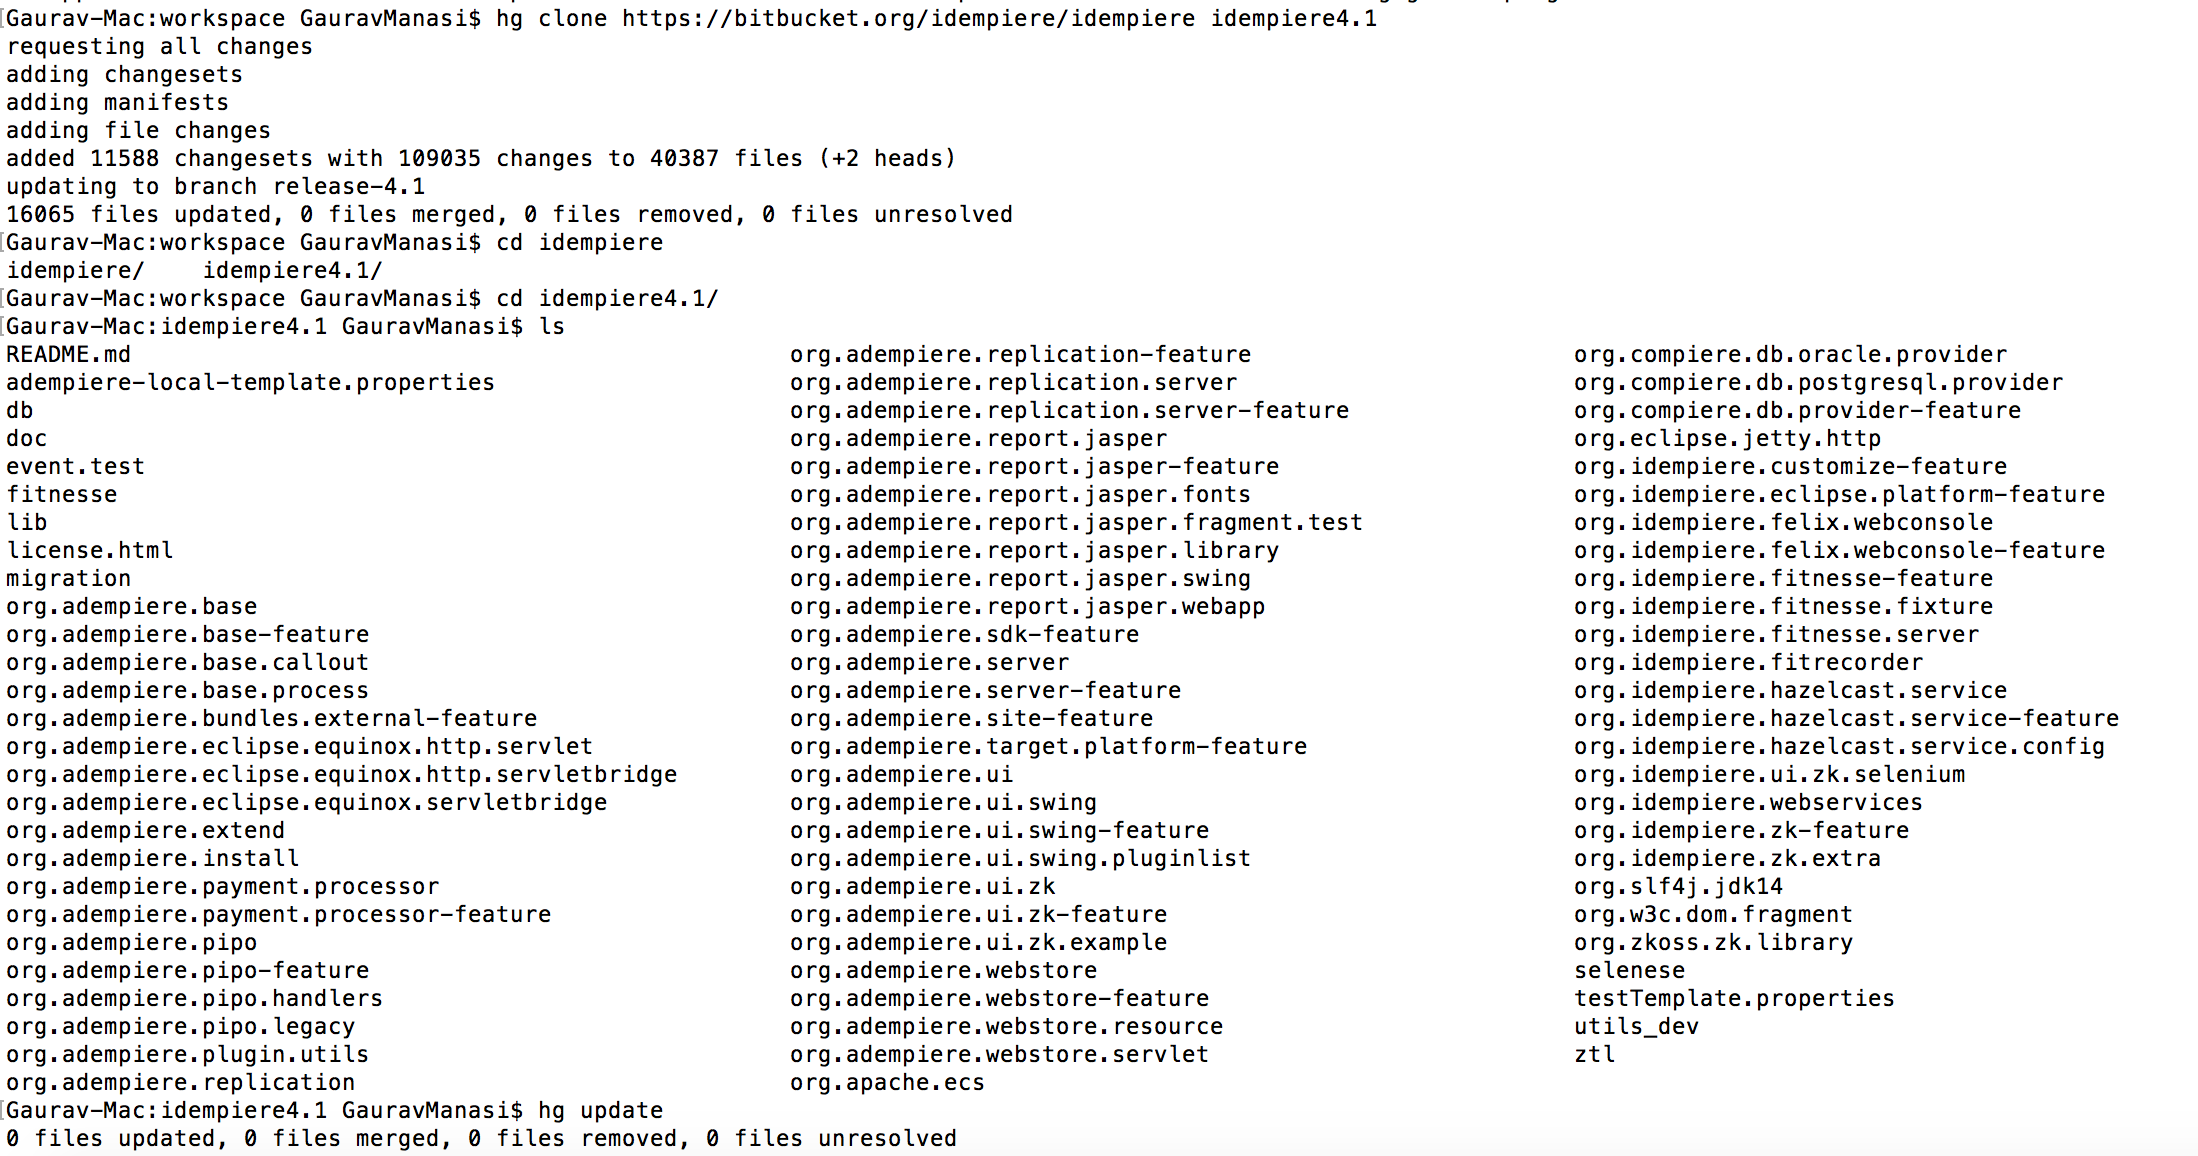
hg clone https://bitbucket.org/idempiere/idempiere idempiere
Eclipse
Download eclipse (I am using luna) . There are new versions of eclipse available to download. I have not tested with them.
- https://eclipse.org/luna/
-
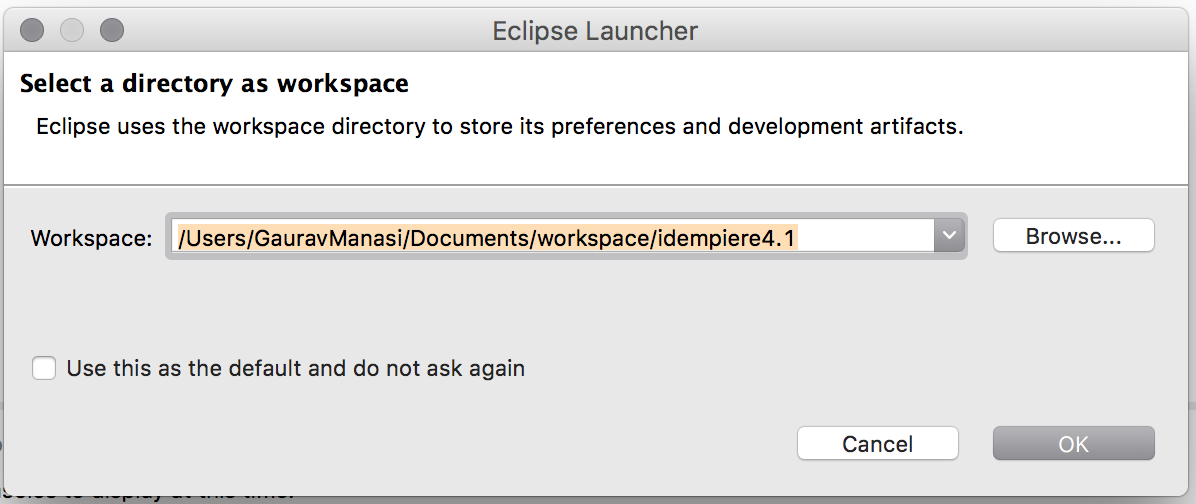
Eclipse workspace setup - Select the iDempiere cloned directory as the workspace.
- Install the eclipse buckminster
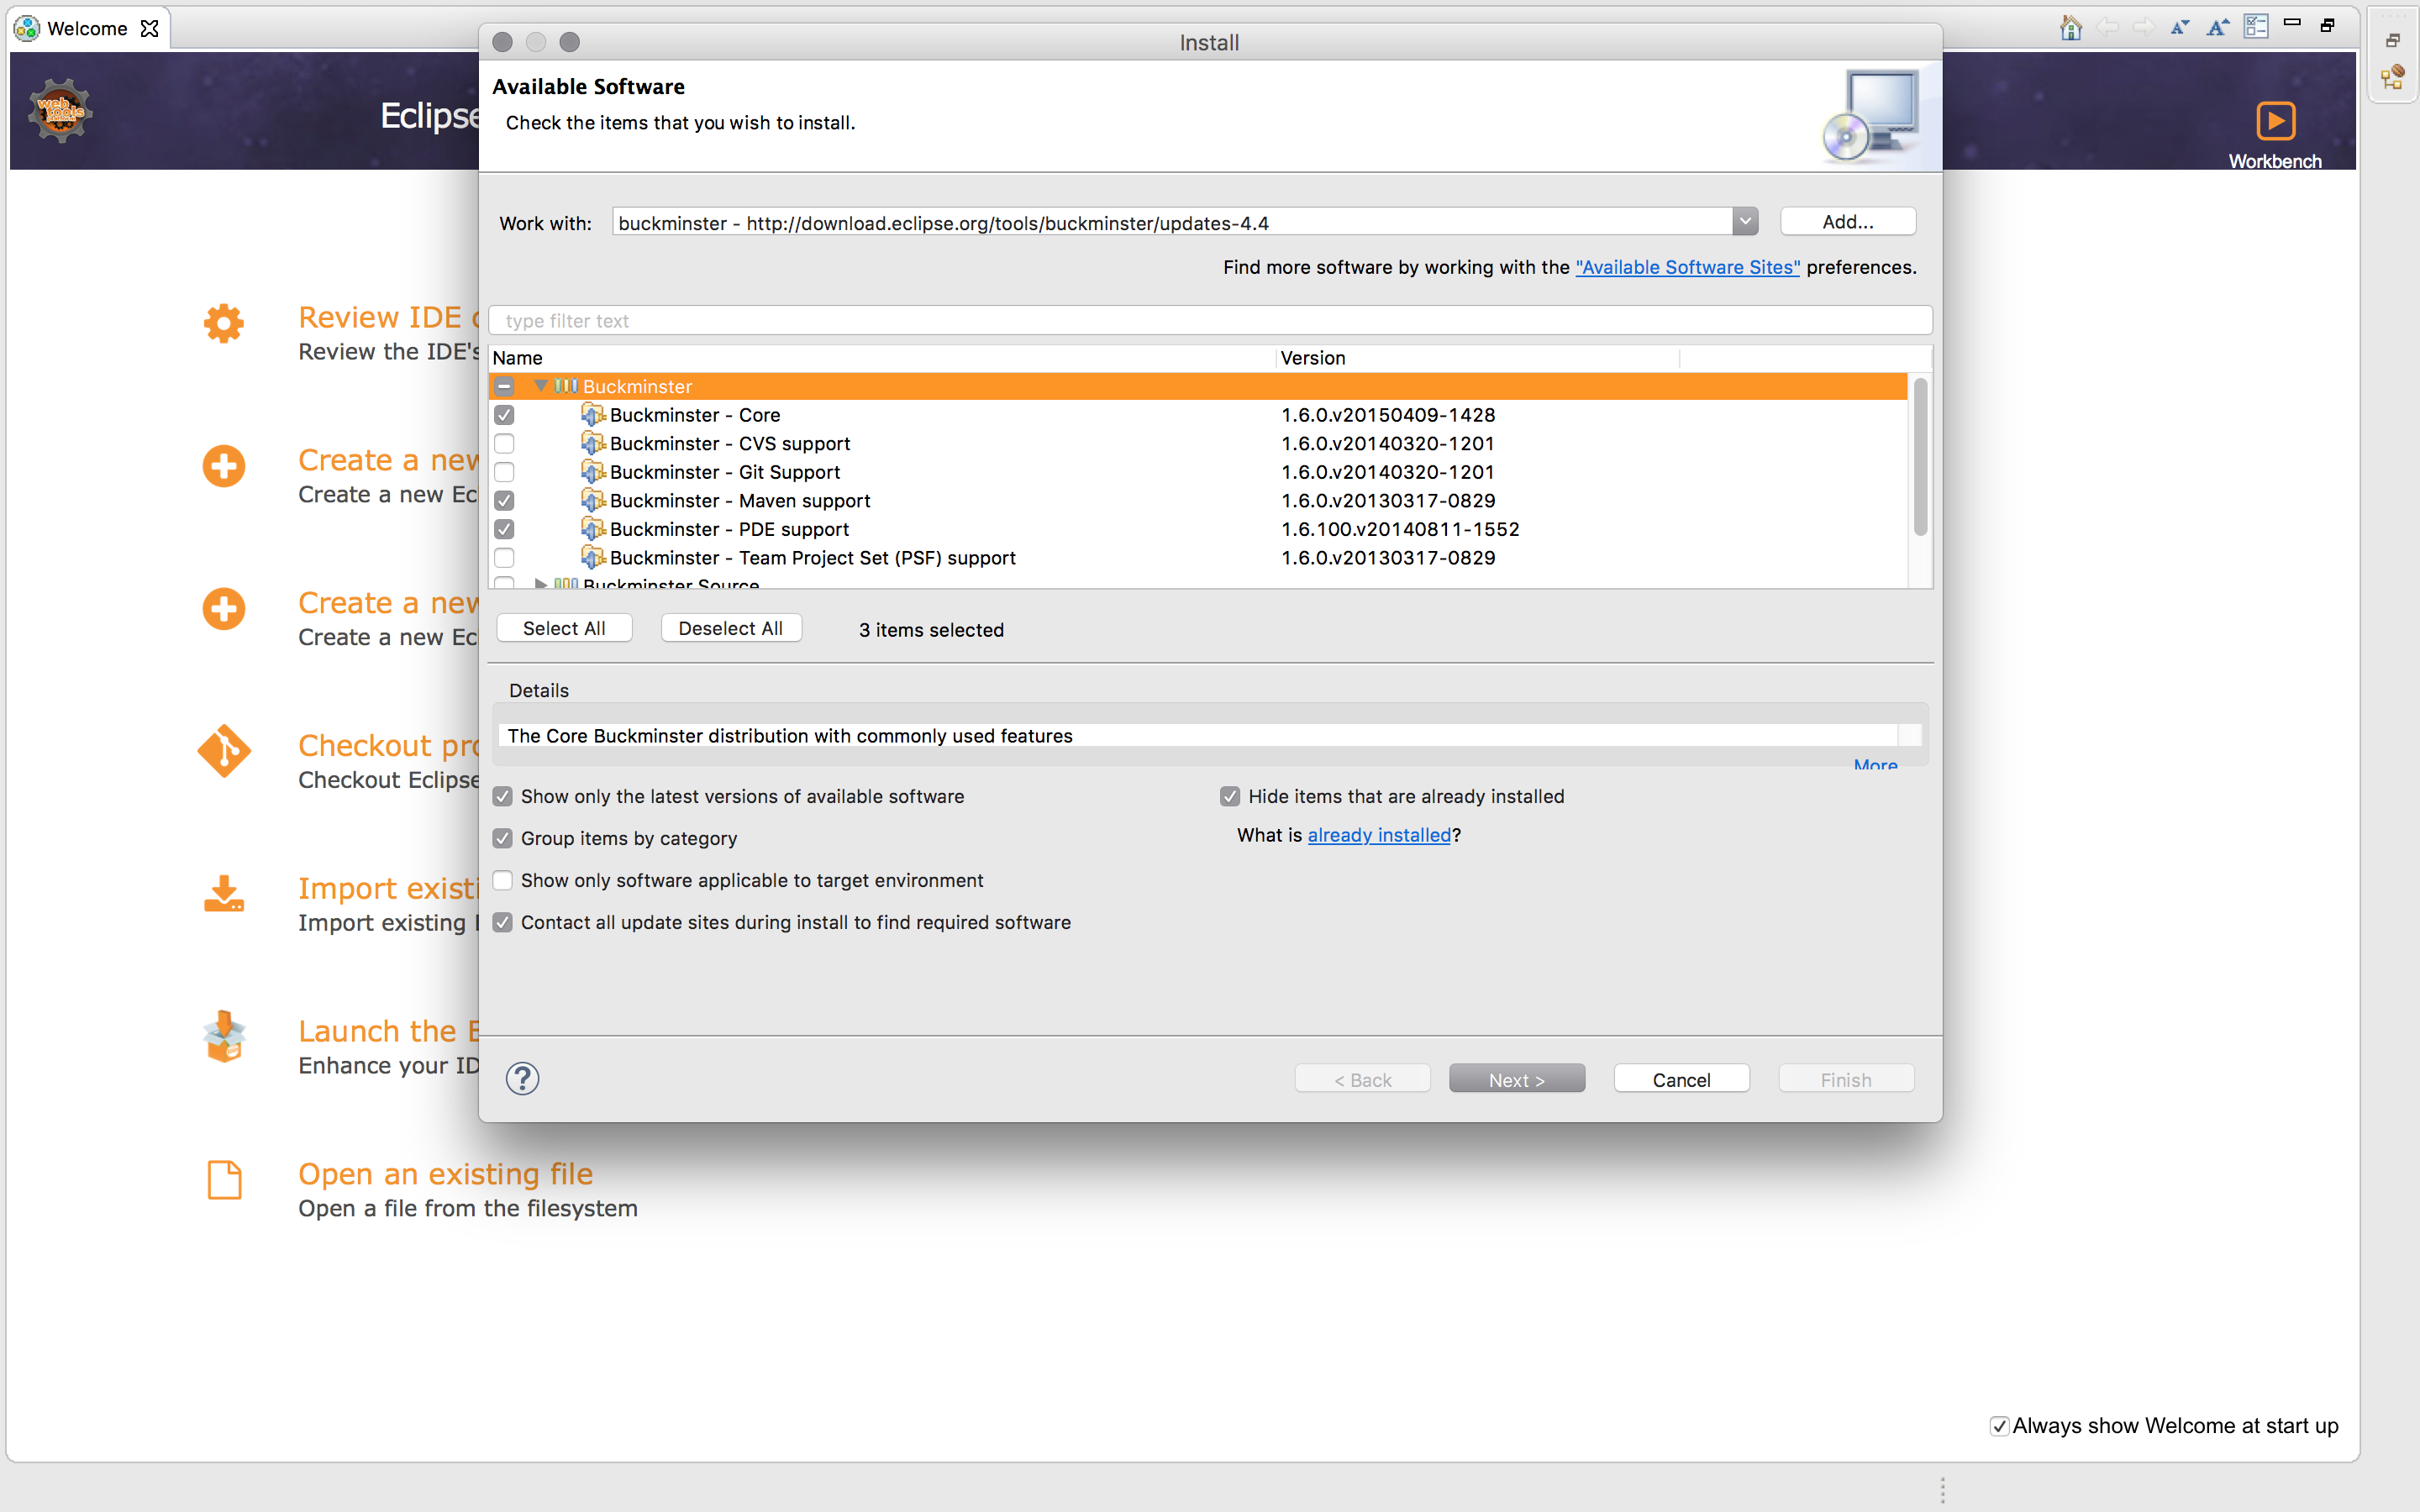
- You need the Buckminster Plugin to assemble the iDempiere project. For this go to (Menu in Eclipse: Help > Install New Software > Add)
- Add name as buckminster
- location – http://download.eclipse.org/tools/buckminster/updates-4.4
- Now it will load all the available packages for the installation select only
- You need the Buckminster Plugin to assemble the iDempiere project. For this go to (Menu in Eclipse: Help > Install New Software > Add)
- Install mercurial plugin
- Go to eclipse market place , search for mercurial install mercurial version 2.2 or go to eclipse market place and simultaneously open this linke as well https://marketplace.eclipse.org/content/mercurialeclipse#group-external-install-button you can drag the install from this site to eclipse market place it will automatically prompt you to install.
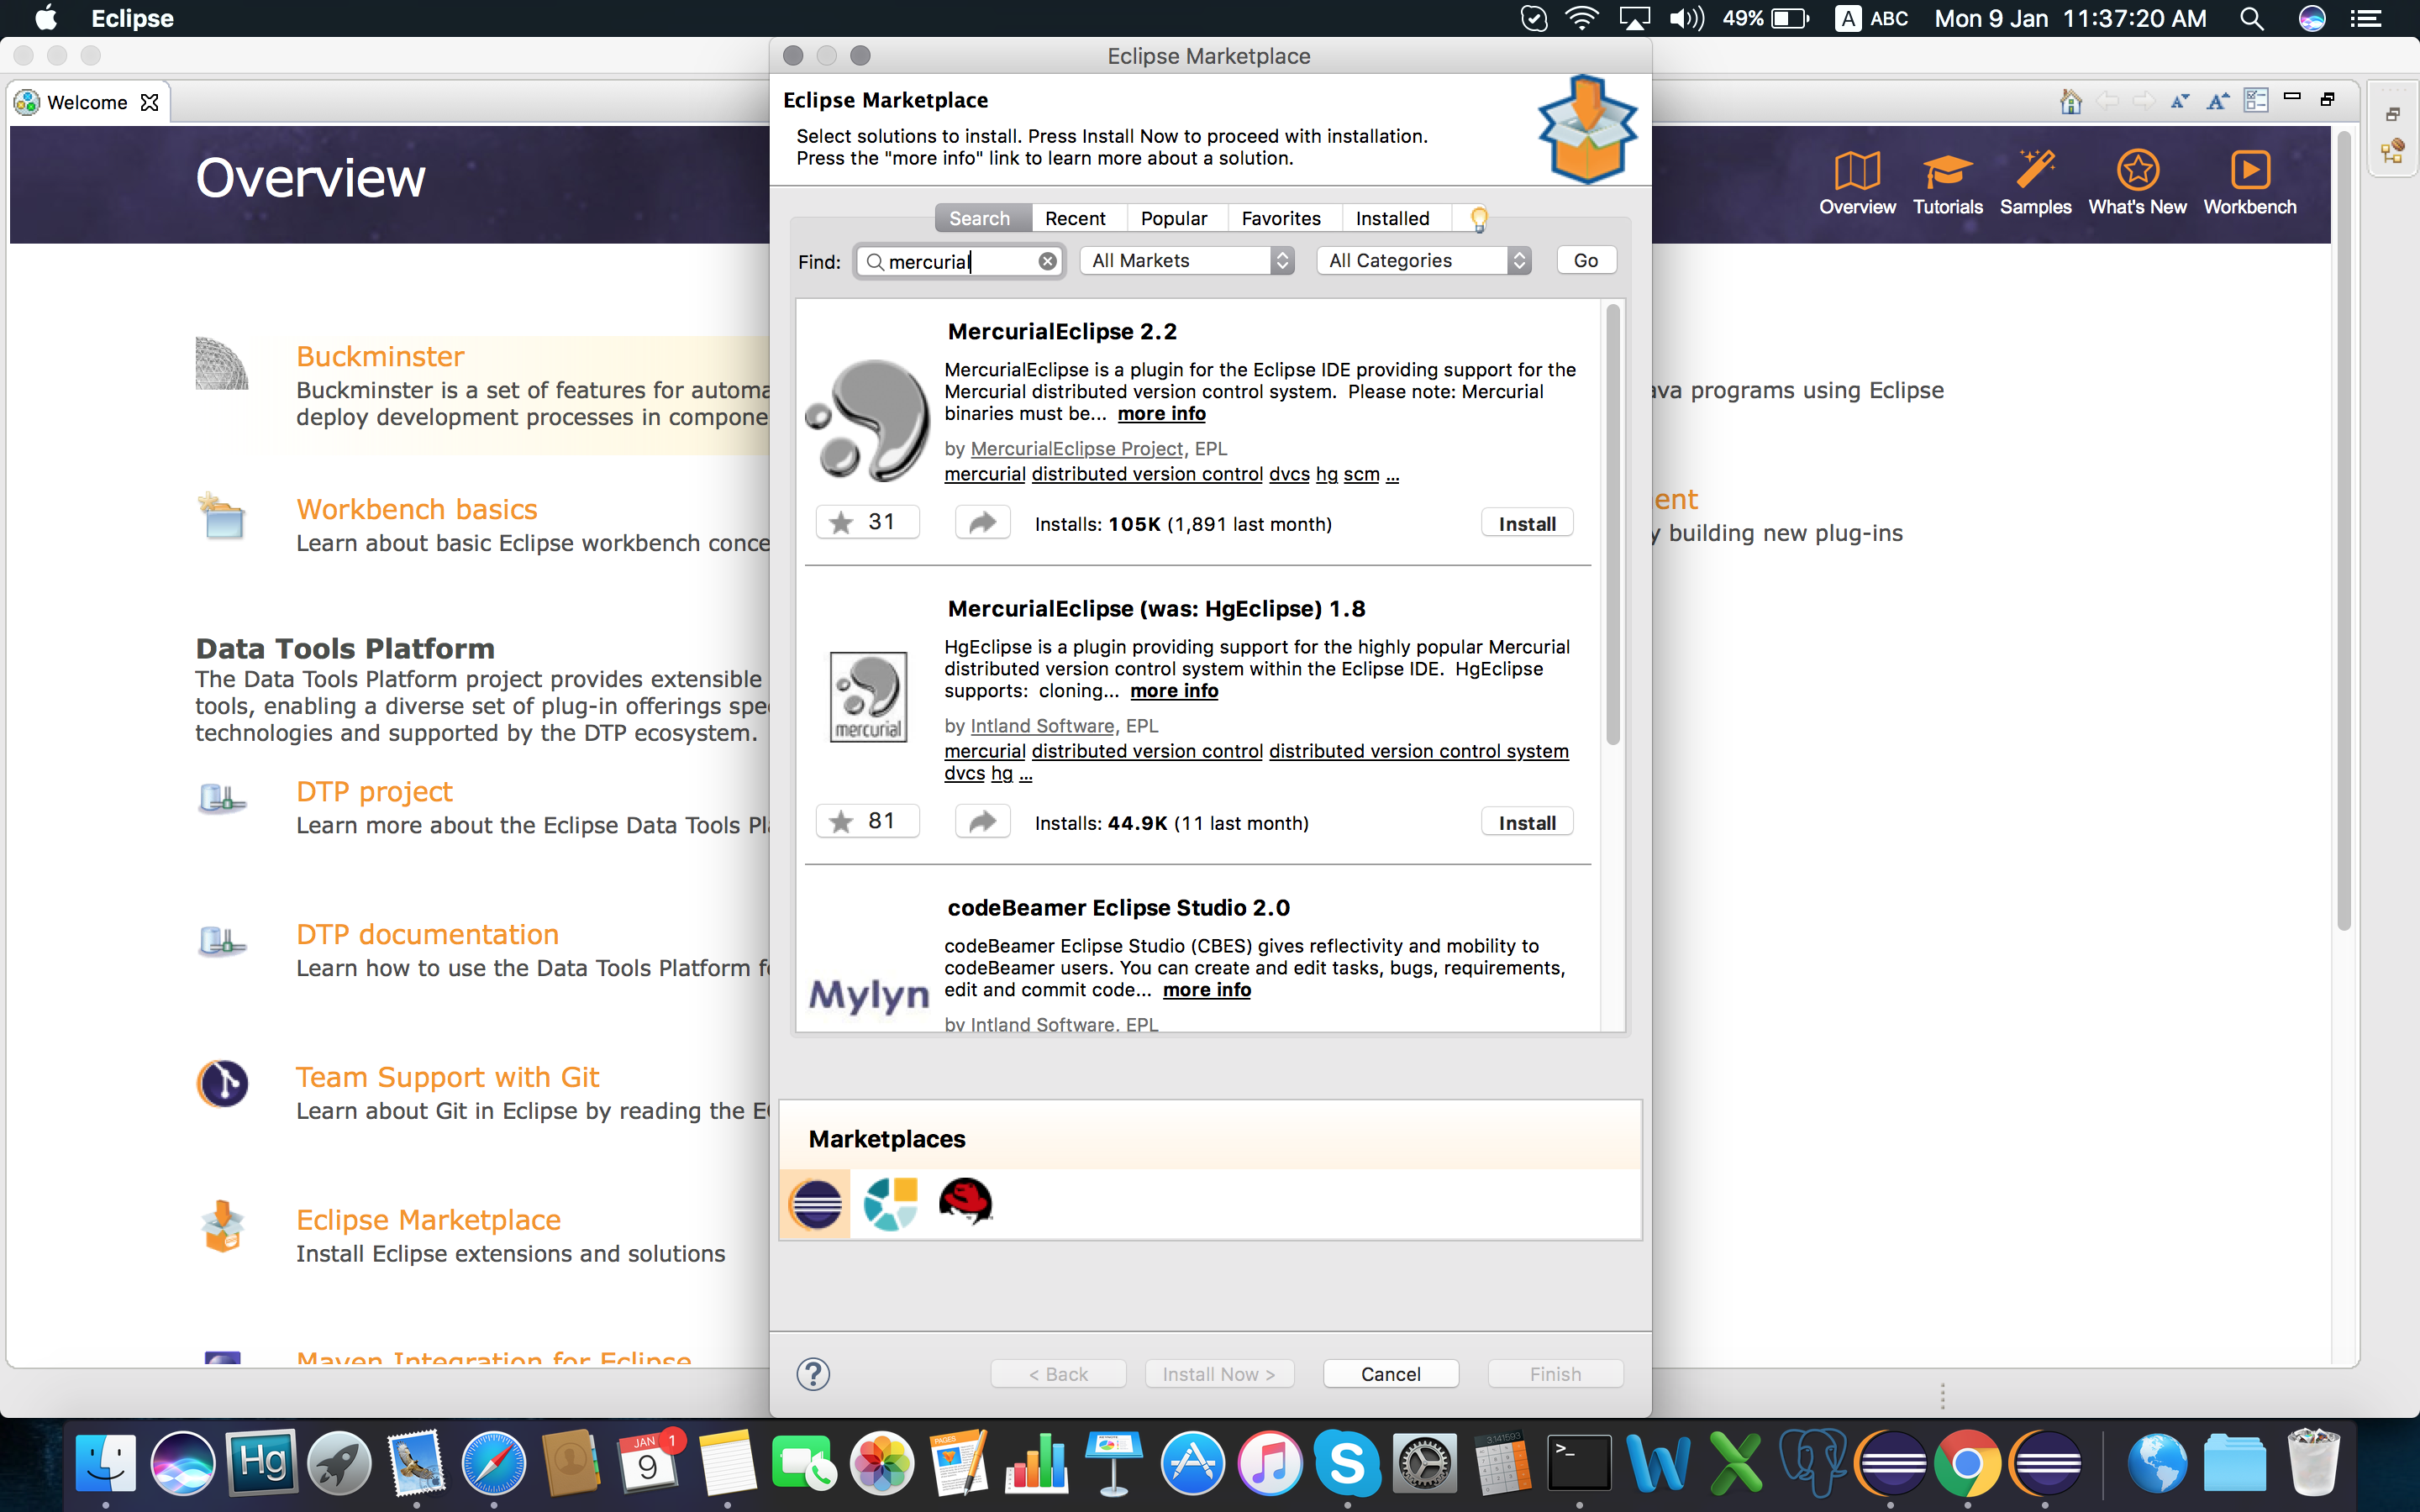
- Go to eclipse market place , search for mercurial install mercurial version 2.2 or go to eclipse market place and simultaneously open this linke as well https://marketplace.eclipse.org/content/mercurialeclipse#group-external-install-button you can drag the install from this site to eclipse market place it will automatically prompt you to install.
This is one part of development setup where we finished .
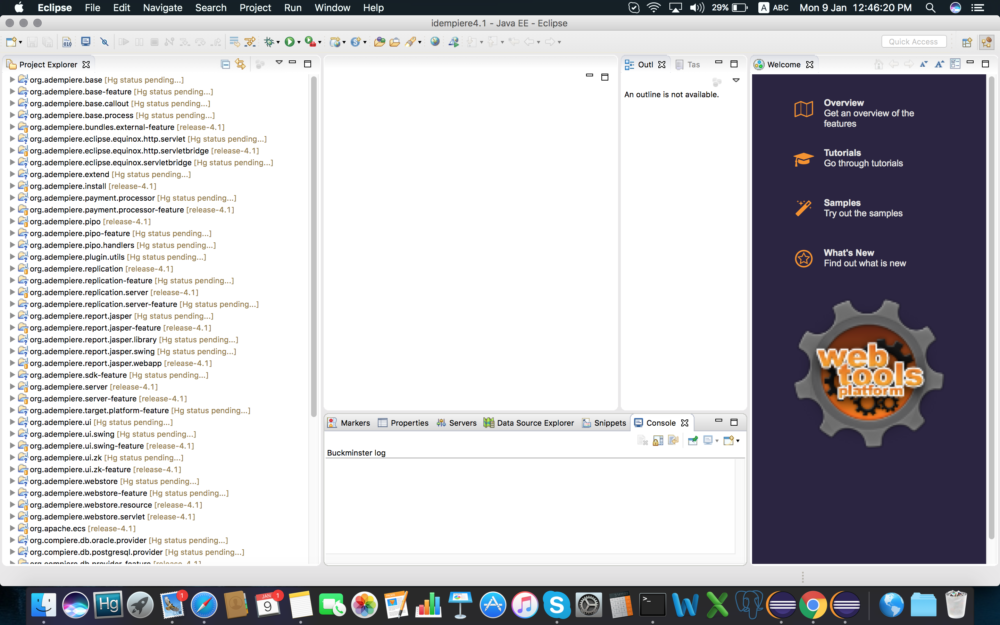
Now to get the iDempiere project into the eclipse.
- Create a targetPlatform – Go to Eclipse –> Preferences –>Plug in Development—>targetPlatform
- Click on add
- Nothing: Start with an empty target definition press next
- give target name I prefer giving iDempiere
- add —> Directory —> Location —> click on variable select workspace_loc
- then type targetPlatfrom so the location will look like ${workspace_loc}/targetPlatform .
- set this as default
- Click on File —-> Import —-> Buckminster —-> Materialize from Buckminster MSPEC, CQUERY or BOM
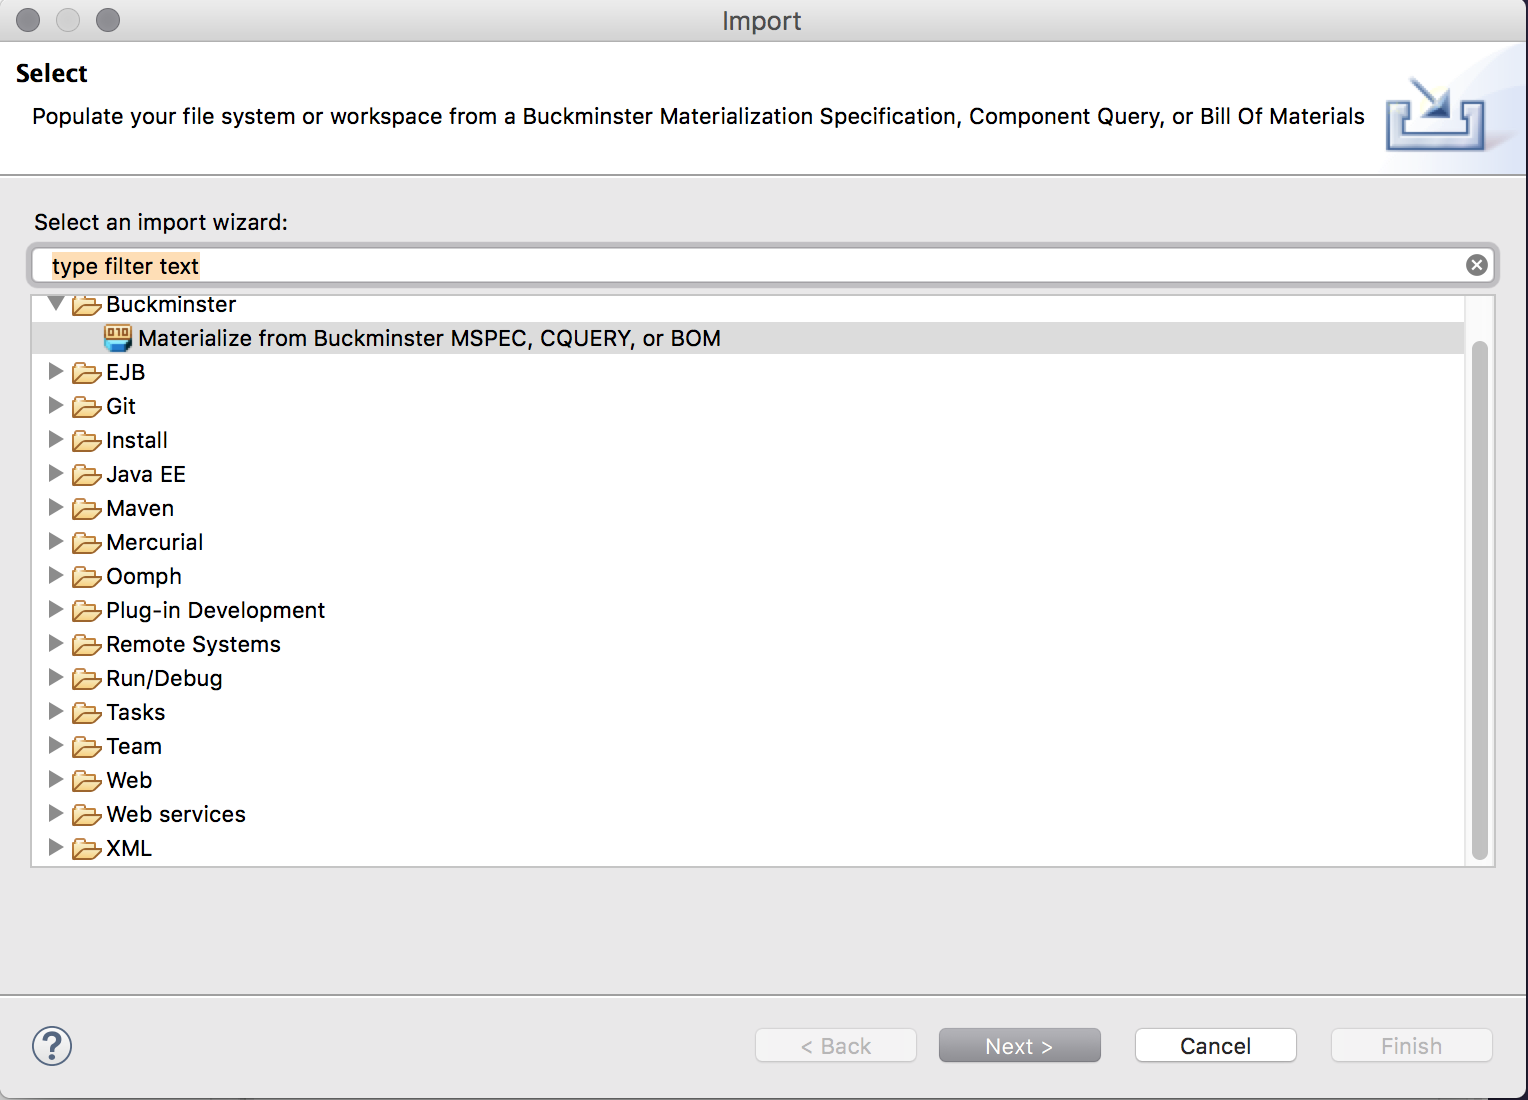
- Click on next and select mpsec from clone idempiere directory “org.adempiere.sdk-feature” folder
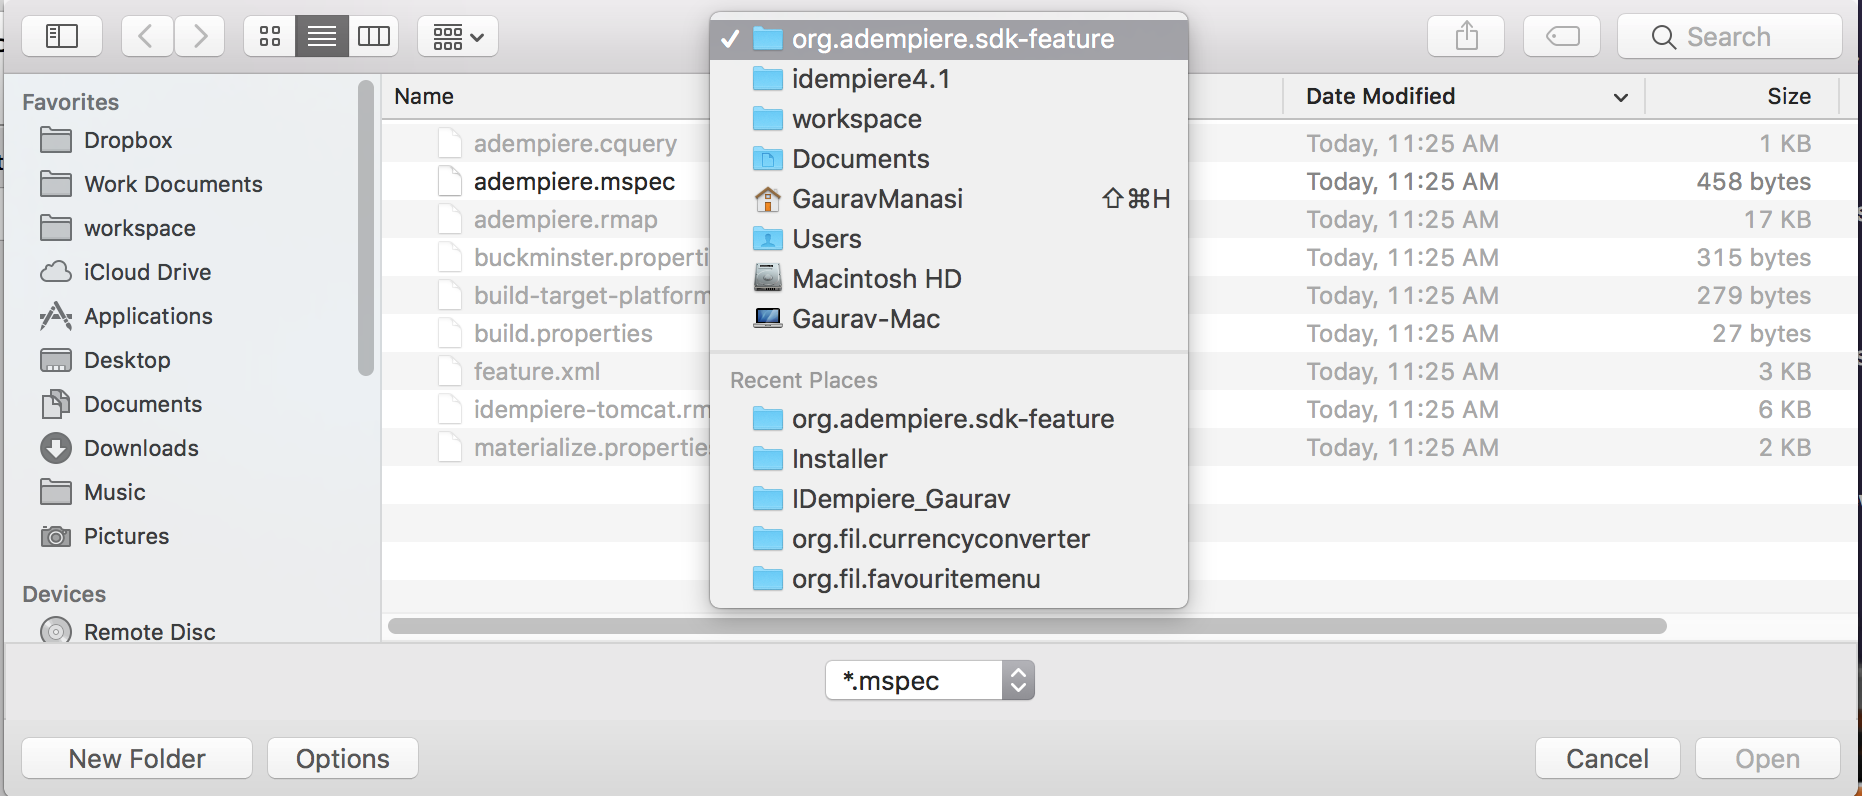
- make sure that you have active internet connection through out this process.
- now the magic will happen based on the machine
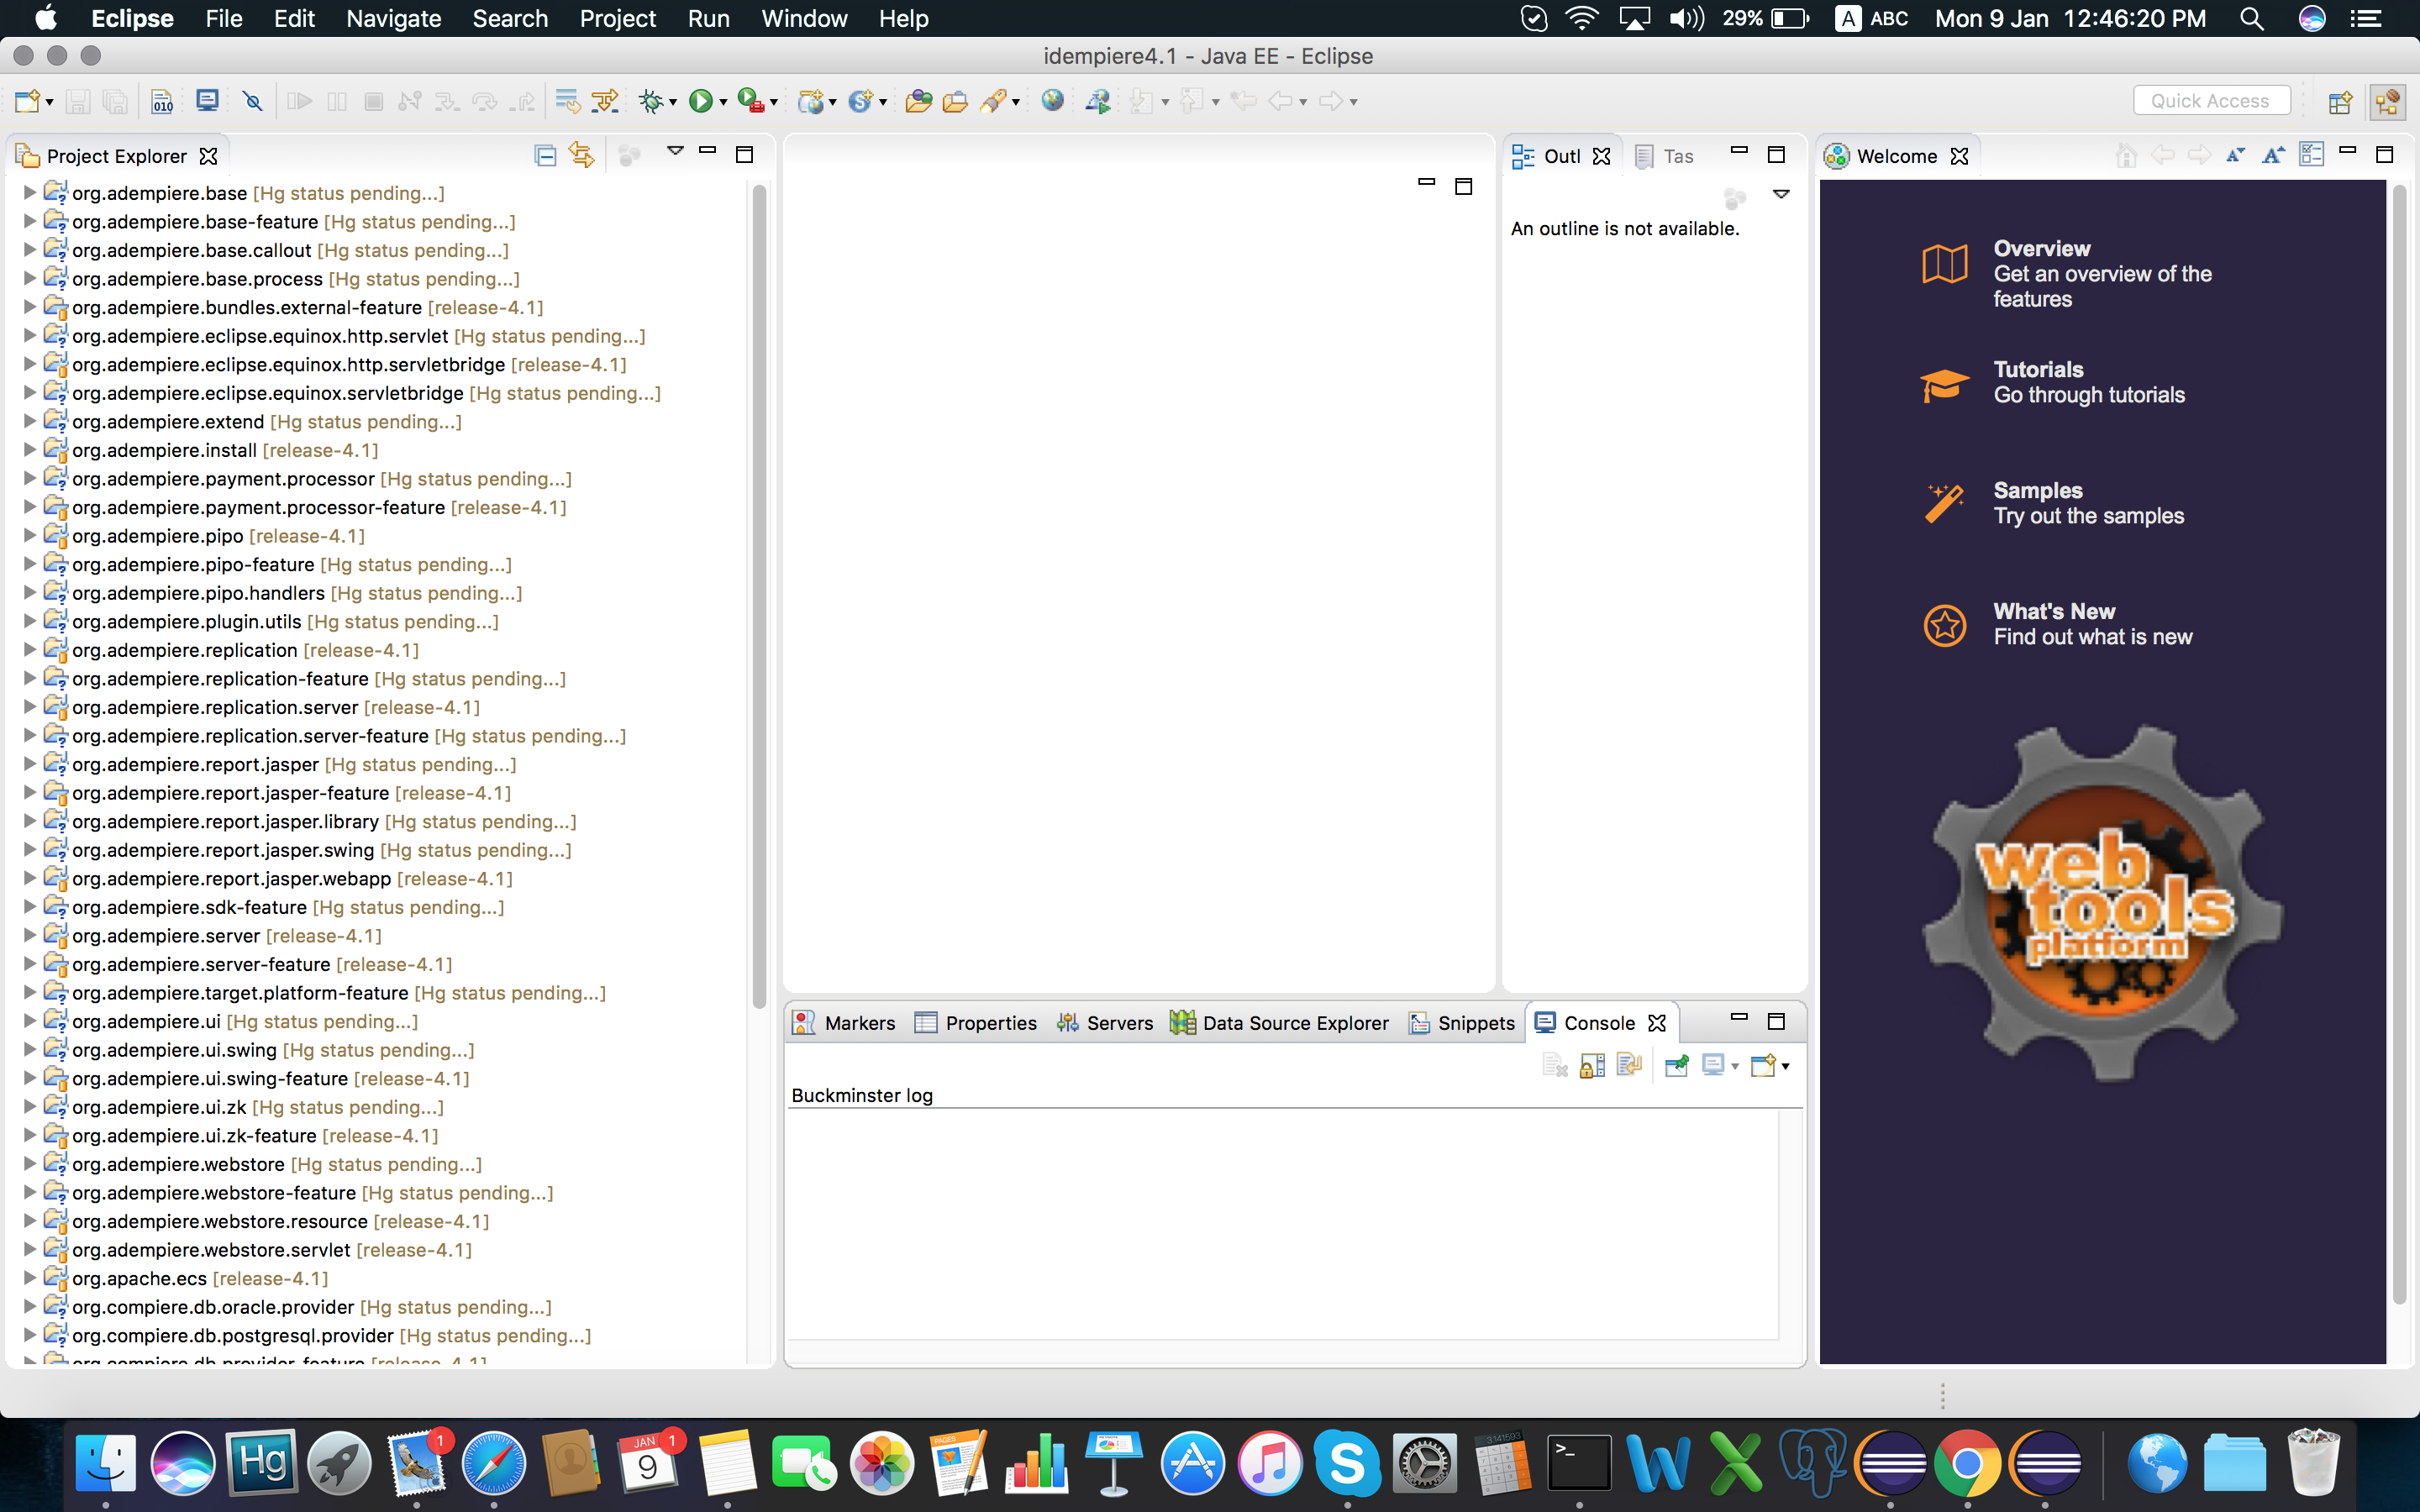
Click on Run Configurations
- Select eclipse application
- install.console.app click on run and install the application on console instructions are given here. This will create configuration file for server.
- then run server.product.
I hope this tutorial will help you to install iDempiere development environment.

